

DESCRIPTION
Remix OS 2.0 brings a PC experience unlike anything on Android and an Android experience unlike anything on a PC.
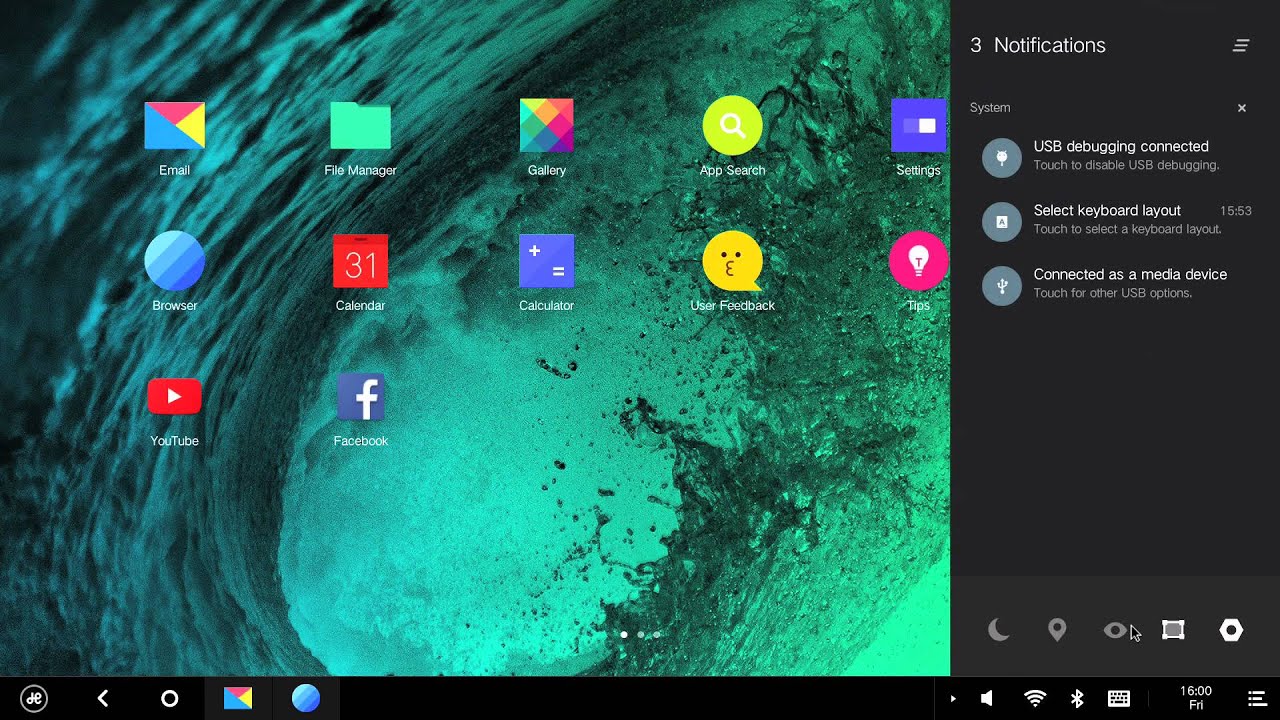
Engineered to bring you the best of both worlds – the harmonious fusion of a mobile and desktop experience, Desktop gives you access to important folders and shortcuts of most frequently used applications so you can focus on what you create rather than where to look for it.
Notifications and Taskbar have been given a complete makeover as well. With additional horizontal real estate, Notifications appears from the right side of your desktop. Complete with a Start Menu and System Tray, Taskbar allows you to find and start all your apps from one location on one side while managing everyday system settings and connectivity on the other.
Disclaimer: Flashing Remix OS ROM on Nexus 9 and 10 requires strong Android knowledge. Flashing this ROM on Nexus 9 and 10 will be at your own risk. You will have to bear responsibility for all the resulting consequences. Jide and androcontent will NOT be responsible for any damage caused.
Please backup your tablet data prior to flashing Remix OS 2.0. The factory image of Nexus 9 and 10 is based on Android 5.1.1. You can download the factory image here
INSTRUCTIONS
STEP 1: Installing adb tool : HERE
(If your computer already has adb tool, you can skip this step and go to step 2.)
- Download ADB-Fastboot tool and configure adb tool by following the instructions below.
- Verify adb tool configuration.
- Open Start Menu and enter cmd in Search. See below.
- Verify your PC sees the device by typing adb. If a series of demands show up on the screen, it indicates that the installation is successful.
STEP 2: Installing image files using fastboot
- Create a folder under C:\ and name it C:\ADB.
- Download image and place it in C:\ADB.
- Open cmd window and type CD /ADB.
- Connect the Nexus 9 and 10 to the computer via USB.
- Open a terminal on your PC and reboot the device into fastboot mode by typing adb reboot bootloader.
- Flash images onto your device by entering the following five commands:
- fastboot flash recovery recovery.img
- fastboot flash boot boot.img
- fastboot flash system system.img
- fastboot flash cache cache.img
- fastboot flash userdata userdata.img
- Clean the existing data by entering the following command:
> fastboot -w
- Once the flash completes successfully, run the following command to reboot the device into recovery to verify the installation. It might take a while. Please wait patiently. Do not force shutdown the device.
> fastboot reboot
SCREENSHOTS

DOWNLOAD LINKS
REMIX OS 2.0 [NEXUS 9] : DOWNLOAD
REMIX OS 2.0 [NEXUS 10] : DOWNLOAD

No comments :
Post a Comment